


September 23, 2026
A refrigerator that suddenly stops cooling properly can make you want to act immediately. Turn the temperature down. Unplug it. Reset everything. Search for a replacement part. But changing several things at once can make the original problem harder to understand.
A better approach is to troubleshoot in order.
This step-by-step guide will help you identify what your refrigerator is actually doing, perform basic checks that are appropriate for a homeowner, and recognize the point where professional refrigerator repair becomes the safer and more useful next step.
You are not trying to diagnose every internal component yourself. Your goal is simpler: identify the symptom, eliminate obvious causes, protect your food and home, and collect useful information for the next decision.
TIP: Before changing any settings, take a photo of the refrigerator display or write down the current temperature settings and any error code. Preserving the original conditions can make troubleshooting much easier.
Step 1: Identify Exactly What Your Refrigerator Is Doing
Start with observation. “The refrigerator isn’t working” is too broad to guide a useful diagnosis. You need to determine which function has changed.
Walk through the appliance systematically.
- Check the fresh-food compartment. Does it feel warmer than normal, unusually cold, or approximately correct?
- Check the freezer separately. Is food still firmly frozen? Is there unusual frost or softening?
- Listen to the refrigerator. Do you hear normal operating sounds, continuous running, repeated clicking, rattling, grinding, or unusual silence?
- Look for moisture. Check beneath drawers, around the doors, near the dispenser, and around the accessible area beneath the refrigerator.
- Check secondary functions. Is the ice maker producing ice? Does the water dispenser work? Are any error codes displayed?
The combination of symptoms matters more than any single observation. For example, a warm refrigerator compartment with a still-cold freezer presents a different diagnostic picture from both compartments warming together.
STEP 1 CHECKLIST:
- ✓ Compare refrigerator and freezer conditions.
- ✓ Record the current temperature settings.
- ✓ Write down any error code exactly as displayed.
- ✓ Note new or unusual sounds.
- ✓ Look for frost, ice, or moisture.
- ✓ Check whether the ice maker and dispenser still work.
- ✓ Note when you first noticed the problem.
⚠ WARNING: If you notice smoke, unexpected sparking, a persistent burning electrical odor, visibly damaged wiring, or water reaching electrical components, stop normal troubleshooting. Do not repeatedly operate the refrigerator to “see if it happens again.”
Also think about what happened before the problem appeared. Did you load a large amount of groceries? Was the door accidentally left open? Was there a power interruption? Was the refrigerator recently moved?
These details can help distinguish a temporary operating condition from a persistent fault.
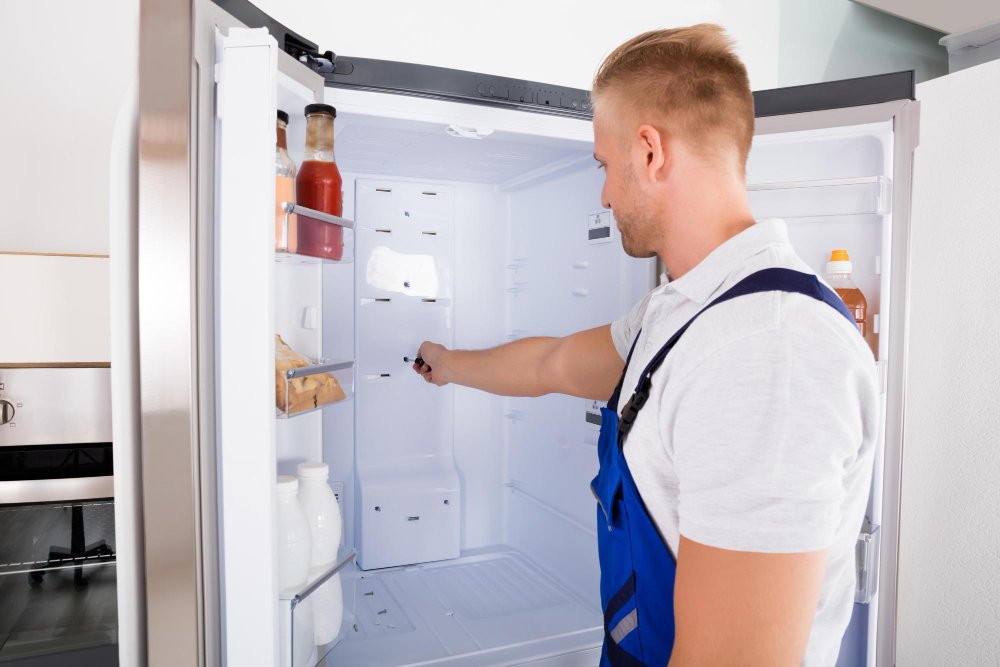
Step 2: Perform the Safe Checks Before Assuming Something Has Failed
Once you know the symptom, move to simple external checks. The key word here is simple. You should not need to dismantle the refrigerator, open electrical components, or access the sealed refrigeration system.
Follow this order:
- Confirm power. If the refrigerator appears completely dead, verify that it has power and check the relevant household electrical protection as appropriate.
- Review the temperature settings. Make sure they have not been accidentally changed. Follow the manufacturer’s recommendations for your model.
- Check every door. Look for containers, shelves, packaging, or food that may prevent complete closure.
- Inspect accessible gasket surfaces. Look for contamination, obvious damage, or areas that do not appear to make normal contact.
- Clear visible interior vents. Move food away from air outlets so air can circulate as intended.
- Consider the load. A recently loaded refrigerator may require time to stabilize, particularly after repeated door openings.
- Check owner-maintenance items. Follow the manual for accessible cleaning or maintenance procedures applicable to your model.
TIP: Change one thing at a time. If you adjust the temperature, rearrange the entire refrigerator, reset the appliance, and unplug it all at once, you may never know which action affected the symptom.
If water is the main complaint, do not simply ask, “Why is my refrigerator leaking?” First identify where the water begins. Moisture beneath a crisper drawer, water near a dispenser, and a puddle appearing behind the refrigerator can have different possible sources.
If frost is the problem, inspect the door closure and note where the frost is concentrated. Do not attack heavy ice with a sharp tool.
⚠ DO NOT: Use knives, screwdrivers, or other sharp objects to chip ice from the refrigerator or freezer. You can damage internal surfaces, tubing, or other components and turn a cooling problem into a much larger repair.
If the ice maker has stopped working, confirm that it is enabled, review the water supply conditions you can safely access, check the filter according to manufacturer guidance, and verify that the freezer itself is cooling properly.
If the refrigerator is noisy, remove the simplest possibilities first. Check whether bottles are vibrating against each other, whether something is sitting on top of the refrigerator, and whether the appliance is contacting nearby cabinetry.
STEP 2 CHECKLIST:
- ✓ Power available.
- ✓ Settings verified.
- ✓ Doors closing completely.
- ✓ Accessible gasket surfaces inspected.
- ✓ Interior vents unobstructed.
- ✓ Recent loading and door use considered.
- ✓ Water or frost location documented.
- ✓ Model-approved maintenance checked.
If one of these checks reveals an obvious cause, correct it appropriately and monitor the refrigerator. If the problem continues, move to Step 3 instead of replacing parts by guesswork.
Step 3: Decide Whether the Problem Needs Professional Diagnosis
At this stage, you have done something valuable: you have separated the easy-to-check conditions from the faults that require testing.
Now ask whether the refrigerator can maintain the intended temperature after the basic conditions have been corrected. If it cannot, professional diagnosis may be appropriate.
Possible internal areas a technician may evaluate include:
- Airflow and fan operation when one compartment is not receiving appropriate cooling.
- Temperature sensors and controls when temperatures are inconsistent or do not correspond with normal settings.
- Defrost-related systems when abnormal frost or ice accumulation interferes with normal operation.
- Water and ice systems when leaks, dispenser problems, or ice-production issues persist.
- Compressor and sealed-system performance when the refrigerator cannot produce or maintain adequate cooling.
- Electronic controls and wiring when functions are intermittent, unresponsive, or associated with error conditions.
Notice the wording: these are areas that may need evaluation. A warm refrigerator does not automatically mean the compressor has failed. Heavy frost does not automatically confirm a failed defrost component. A non-working ice maker does not automatically mean the entire ice maker assembly requires replacement.
Symptoms identify the direction of diagnosis. Testing identifies the cause.
⚠ STOP DIY TROUBLESHOOTING if the next step would require you to open internal electrical areas, bypass a safety device, work with refrigerant or sealed-system components, manipulate wiring, or perform a procedure you cannot safely complete according to the manufacturer’s instructions.
Food safety should also influence your decision. If the refrigerator has been too warm for an extended period, protecting perishable food becomes more urgent than continuing troubleshooting. Follow current food-safety guidance rather than relying only on smell or appearance.
Before arranging service, prepare the information you collected. It can make the initial diagnosis more focused.
SERVICE PREPARATION CHECKLIST:
- ✓ Refrigerator model number, if safely accessible.
- ✓ Current temperature settings.
- ✓ Which compartment is affected.
- ✓ Exact error code, if displayed.
- ✓ Description of unusual sounds.
- ✓ Location of any water, frost, or ice buildup.
- ✓ Whether the ice maker and dispenser operate.
- ✓ Approximate time the problem began.
TIP: A short video of an intermittent noise or a photo showing where frost or water first appears can be useful when the symptom is difficult to reproduce. Capture it only when doing so is safe.
Good refrigerator troubleshooting is not about finding the most complicated explanation first. It is about narrowing the problem in the right order.
Remember the three-step process:
- Identify the exact symptom. Determine what changed and which functions still work.
- Perform safe external checks. Verify power, settings, door closure, airflow, accessible maintenance items, and the location of water or frost.
- Know when testing is required. If the cause remains unclear or internal systems need evaluation, move from DIY troubleshooting to professional diagnosis.
If your refrigerator continues to run incorrectly after these checks, Empire Appliances Repair can diagnose cooling problems, leaks, frost buildup, unusual noises, ice maker and dispenser issues, airflow problems, controls, and other refrigerator faults.
Whether repair or replacement makes more sense should come after the problem has been identified. The confirmed fault, overall condition of the refrigerator, repair history, parts availability, and scope of the required work all provide better information than appliance age or one symptom alone.
A warm refrigerator does not automatically need a compressor. A puddle does not automatically identify a leaking valve. Frost does not automatically tell you which component has failed.
Observe first. Check the basics second. Diagnose before replacing.
That sequence may sound simple, but it is one of the most effective ways to approach refrigerator repair without turning one appliance problem into several unnecessary ones.