


September 21, 2026
Your washer stops halfway through a cycle. Maybe the drum is full of water, the clothes are still soaking wet, or the machine suddenly begins shaking harder than usual. What should you do next?
For many washer problems, there are two reasonable paths. Option A is safe homeowner troubleshooting: checking the conditions around the appliance and ruling out simple causes. Option B is professional washer repair, where the symptom is investigated through component-level testing and diagnosis.
Neither option is automatically the right choice for every situation. A washer that will not start because the door is not fully closed is very different from a washer that repeatedly trips an electrical circuit or leaks from somewhere inside the cabinet.
The most useful comparison, therefore, is not simply DIY versus professional service. It is what each approach can realistically accomplish, where its limits are, and when moving from one to the other makes sense.
Overview: Start by Defining the Washer Problem
Before comparing your options, identify the symptom as precisely as possible. “My washer is broken” does not provide enough information to make a good decision.
Common washer complaints include:
- the washer will not start;
- the machine will not fill with water;
- water enters but will not drain;
- the washer drains but will not spin properly;
- clothes remain unusually wet;
- water appears around the appliance;
- the washer shakes or moves excessively;
- new grinding, banging, squealing, or rattling sounds appear;
- the cycle stops before completion;
- an error code appears on the display.
These symptoms can sometimes have simple explanations, but they can also overlap with mechanical, electrical, drainage, control, or water-system problems. That is why replacing a component based on the symptom alone can be misleading.
| Washer Symptom | Safe First-Level Check | Possible Need for Further Diagnosis |
|---|---|---|
| Won’t start | Power, controls, door or lid closure | Door/lid sensing, controls, electrical components |
| Won’t drain | Accessible drain hose condition and cycle selection | Pump, internal obstruction, controls or related components |
| Won’t spin | Load balance and cycle settings | Drive system, sensing, controls or mechanical components |
| Leaks water | Accessible hoses, connections and detergent use | Internal hose, pump, seal or other water-system issue |
| Shakes excessively | Load distribution and appliance stability | Suspension, structural or mechanical issue |
| Stops mid-cycle | Load, settings and displayed error information | Control, sensing, drainage or other operating fault |
Once the symptom is defined, you can make a more informed choice between the two approaches.
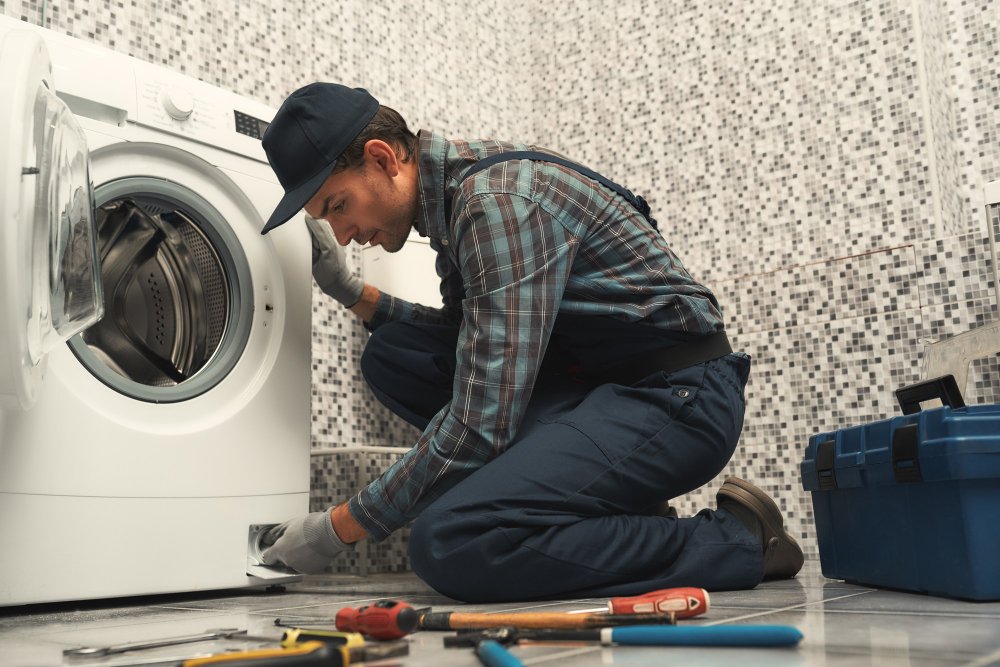
Option A: Safe DIY Washer Troubleshooting
DIY troubleshooting is most useful when it means observation and basic external checks, not disassembling the appliance and guessing which internal part has failed.
Suppose your washer will not start. Before assuming the control board has failed, you can confirm that the appliance has power, verify that the door or lid closes normally, and review the selected cycle and controls.
If the washer will not drain, you may be able to inspect the accessible drain hose for obvious kinking or positioning problems according to the manufacturer’s instructions. If the machine shakes during spin, check whether the load has become severely unbalanced and whether the appliance appears stable.
For filling problems, verify that the household water supply intended for the washer is available and that accessible hoses are not visibly kinked.
The advantage of this approach is straightforward: simple operating or installation conditions can sometimes be identified without component-level repair.
Pros of Option A
- Immediate: basic checks can often be performed as soon as the problem appears.
- Useful for simple conditions: an unbalanced load, incorrect setting, closed water supply, or kinked accessible hose may be relatively easy to identify.
- Provides diagnostic information: careful observation can reveal exactly when the washer fails during its cycle.
- Avoids premature part replacement: checking the basics first can rule out conditions that do not require an internal repair.
Cons of Option A
- A symptom may have several possible internal causes.
- Visual inspection cannot confirm many electrical or mechanical faults.
- Repeated resets may hide an intermittent problem rather than solve it.
- Incorrect disassembly can create additional damage or safety risks.
- Guessing and replacing parts can become inefficient if the actual cause has not been tested.
WINNER — SIMPLE OPERATING CONDITIONS: Option A
For checking settings, load balance, accessible hoses, door or lid closure, and other basic external conditions, safe homeowner troubleshooting is the logical first step.
But there is an important boundary. Removing panels, accessing electrical components, bypassing door or lid safety systems, reaching into internal moving assemblies, or performing repairs beyond manufacturer-approved homeowner procedures moves the situation into a different category.
Option B: Professional Washer Repair and Diagnosis
Professional diagnosis becomes more valuable when the obvious external conditions have been eliminated but the washer still cannot complete its normal operation.
Consider a machine that fills normally and begins washing but repeatedly stops when it should drain. The symptom tells you where in the cycle the problem becomes visible, but it does not prove exactly what caused it.
A technician can evaluate the relevant system rather than choosing a replacement part based only on the visible symptom. Depending on the washer and complaint, diagnosis may involve the drain system, pump operation, electrical circuits, sensors, door or lid locking system, drive components, controls, or other parts involved in that stage of the cycle.
The same principle applies to a washer that will not spin. An unbalanced load may prevent normal spinning, but persistent spin problems can also involve other mechanical or control-related conditions. Proper diagnosis separates those possibilities.
Pros of Option B
- Component-level diagnosis: testing can distinguish between problems that produce similar symptoms.
- Better for intermittent faults: the entire operating sequence can be considered instead of focusing on one visible symptom.
- Appropriate for internal systems: mechanical and electrical components can be evaluated without relying solely on guesswork.
- Supports the repair-or-replace decision: knowing the actual fault provides better information for deciding what to do with the appliance.
Cons of Option B
- Professional service is unnecessary if the problem turns out to be something as simple as an incorrect setting or severely unbalanced load.
- An appointment may be required rather than addressing the problem immediately.
- Diagnosis may determine that more extensive repair is needed than the homeowner initially expected.
WINNER — INTERNAL OR RECURRING PROBLEMS: Option B
If the washer repeatedly fails at the same stage, leaks from an unidentified internal source, produces abnormal mechanical sounds, displays recurring errors, or requires internal electrical or mechanical testing, professional diagnosis provides the stronger path.
Side-by-Side Comparison: Which Approach Fits the Situation?
The two options work best when they are treated as different levels of the same diagnostic process rather than competing philosophies.
DIY troubleshooting answers: “Is there a simple external reason for this behavior?”
Professional washer repair answers: “If the basic conditions are correct, which system is actually causing the failure?”
| Feature | Option A: DIY Troubleshooting | Option B: Professional Diagnosis |
|---|---|---|
| Best Use | Basic external checks | Persistent or internal faults |
| Settings & Controls | Excellent | Usually unnecessary for basic checks |
| Load Balance | Excellent | Useful if imbalance persists |
| Accessible Hose Check | Good | Better when internal water or drain systems require testing |
| Internal Electrical Diagnosis | Not appropriate | Appropriate |
| Mechanical Diagnosis | Limited | Detailed |
| Part Identification | Low confidence without testing | Based on diagnostic findings |
| Recurring Error Codes | Can record and review basic guidance | Can investigate underlying cause |
| Repair vs. Replace Decision | Limited information | Stronger after confirmed diagnosis |
There is another useful way to compare them: by symptom severity.
| Situation | Better Starting Option | Why |
|---|---|---|
| Washer won’t start after controls were changed | Option A | Settings, power and door/lid closure can be checked first. |
| Washer shakes with one unusually heavy load | Option A | Load distribution is an appropriate first check. |
| Washer repeatedly leaves a full tub of water | Option B after basic drain checks | The drainage system may require diagnosis. |
| Water is leaking from an unidentified internal area | Option B | The source should be identified before continued operation. |
| Recurring grinding or mechanical noise | Option B | Continued operation may worsen a mechanical problem. |
| Persistent burning odor or visible sparking | Stop use and seek professional help | This may indicate an electrical or mechanical safety problem. |
OVERALL WINNER — A SEQUENTIAL APPROACH
Start with Option A when the symptom is appropriate for safe external troubleshooting. Move to Option B when the basic checks do not explain the problem or when internal testing, disassembly, electrical work, or mechanical diagnosis would be required.
Start Simple, but Know Where to Stop
The best washer repair strategy is rarely “always DIY” or “always call a technician immediately.” The stronger approach is to match the response to the symptom.
If your washer suddenly refuses to start, first check the simple conditions you can safely verify. If it shakes during one load, redistribute the laundry and observe what happens. If an accessible drain hose is visibly kinked, correct it according to the manufacturer’s installation guidance.
But if the washer repeatedly stops at the same point, cannot drain despite basic checks, produces abnormal mechanical noises, leaks from an unidentified location, or requires access to internal electrical or mechanical systems, continuing to experiment is unlikely to improve the diagnosis.
Do not bypass door or lid safety devices, work on energized electrical components, or continue operating a washer that shows signs of an electrical hazard. Smoke, sparking, a persistent burning odor, visibly damaged wiring, or water reaching electrical components are reasons to stop normal use and address the safety issue.
If the basic checks do not reveal the cause, Empire Appliances Repair can diagnose washer problems involving filling, draining, spinning, leaks, excessive vibration, unusual noises, controls, error codes, and incomplete cycles.
The same logic applies when deciding whether to repair or replace the washer. Do not make that decision from one symptom alone. A confirmed diagnosis gives you a clearer picture of the required work, the appliance’s overall condition, previous repair history, and whether the repair makes practical sense.
Final verdict: use DIY troubleshooting to eliminate the simple possibilities. Use professional washer repair to identify the actual fault when the problem goes deeper. The two approaches work best when one naturally leads to the other.