


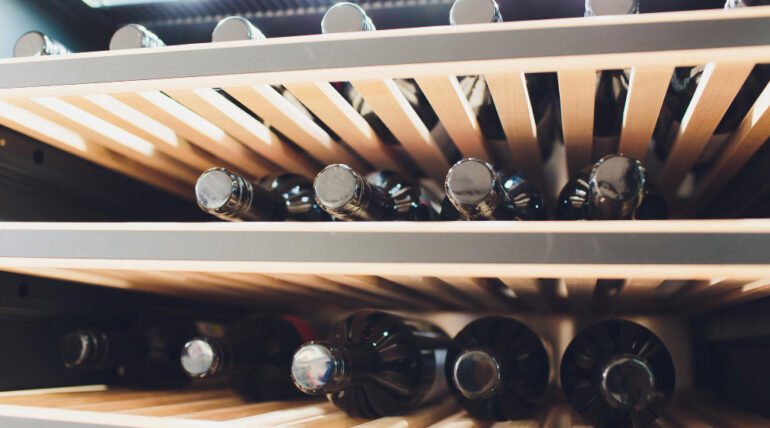
September 3, 2026
It began with something easy to dismiss.
One evening, a bottle was taken from the wine cooler and felt slightly warmer than expected. Not warm enough to suggest an obvious failure. Not dramatic enough to trigger an alarm. Just different.
The display still showed the selected temperature. The interior light came on. The bottles sat exactly where they always had. From the outside, nothing appeared wrong.
So the door closed, dinner continued, and the moment passed.
A few days later, another bottle felt the same way.
That was when a small observation became a pattern.
“Wine cooler problems often begin quietly. The first useful clue may be nothing more than a difference between the temperature you expect and the temperature you experience.”
Stage One: The Temperature Began to Tell a Different Story
The natural reaction was to look at the display again.
The setting appeared normal.
But a selected temperature and the actual temperature inside a cooler are not necessarily the same thing. A control panel tells you what the appliance has been asked to do. The condition inside the cabinet tells you how successfully it is doing it.
That distinction became the first important clue.
Instead of immediately changing settings, attention shifted toward the cooler itself. Did the temperature seem inconsistent throughout the day? Was one area noticeably different from another? Was the door closing normally? Had anything changed around the ventilation area?
For a dual-zone wine cooler, there was another question: were both zones behaving the same way?
If one zone maintains its expected temperature while another does not, that detail may provide useful diagnostic context. If both zones begin warming together, the pattern may point the investigation in another direction.
Possible causes of poor cooling can involve airflow, fans, temperature sensing, controls, ventilation conditions, door sealing, or the refrigeration system itself. The symptom alone does not identify which one.
And so the first stage of the story ended without a replacement part.
Instead, it ended with better information.
The cooler was not simply “broken.” Its temperature performance had changed.
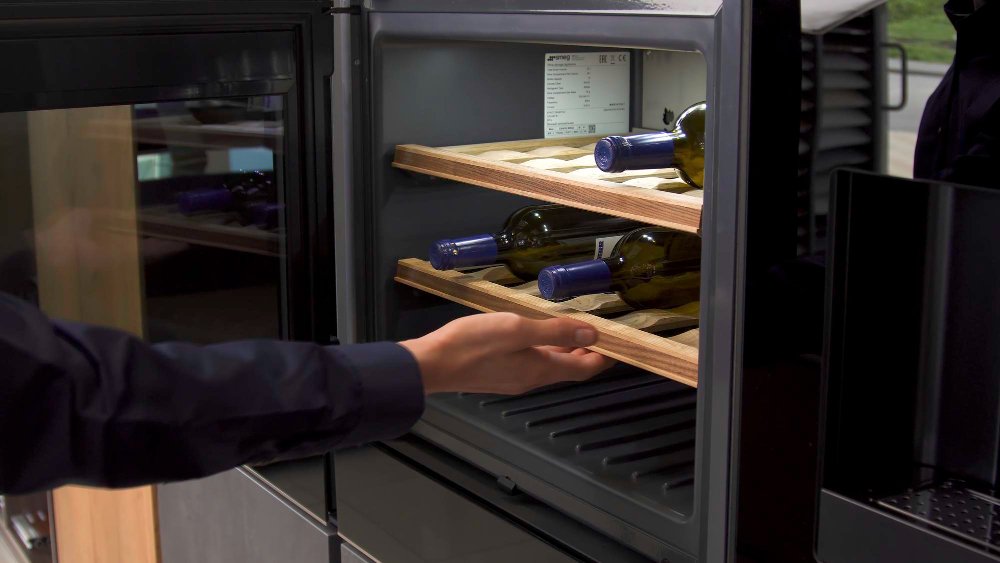
Stage Two: Then Moisture Appeared
Several days later, there was another clue.
Moisture had begun to appear inside the cabinet.
A few droplets alone do not tell the entire story. Humidity, door opening, ambient conditions, door sealing, temperature differences, and appliance operation can all influence condensation.
But when moisture appears alongside a temperature complaint, the two observations deserve to be considered together.
The temptation at this point is to treat each symptom separately: wipe away the moisture, lower the temperature setting, close the door, and wait.
Sometimes basic checks are appropriate. Is the door closing completely? Is something preventing the gasket from contacting normally? Is the cooler overcrowded in a way that interferes with intended airflow? Are accessible ventilation areas being obstructed?
But repeated condensation deserves more than repeated wiping.
“A symptom that returns is asking a different question: not ‘How do I remove this?’ but ‘Why does this keep happening?’”
That question changed the direction of the story.
The warmer bottles were no longer an isolated impression. The moisture was no longer merely an inconvenience. Together, they suggested that the environment inside the cooler was no longer behaving as it once had.
This matters especially with wine storage, where consistency can be as important as the number displayed on the control panel.
A beverage cooler presents the same diagnostic principle. If drinks are no longer being maintained at the expected temperature, lowering the setting again and again does not explain why performance changed.
The goal is not to make the control display look right. The goal is to understand the actual conditions inside the appliance.
Stage Three: The Familiar Sound Changed
Then, one evening, the cooler sounded different.
It was not dramatically loud. There was simply a new sound in the background—a sound that had not been part of the kitchen before.
That detail mattered.
Wine and beverage coolers can produce normal operating sounds as fans and refrigeration components cycle. What becomes diagnostically useful is a change from the appliance’s established behavior.
Was the sound constant or intermittent? Did it begin when cooling started? Did it seem to come from inside the cabinet or another area of the appliance? Did the temperature change at approximately the same time?
These observations began to form a timeline:
First, the bottles felt warmer. Then moisture appeared. Later, the operating sound changed.
None of those clues independently confirmed a failed component.
Together, however, they created a much clearer description of the problem.
That is the point where many repair attempts go wrong. A homeowner hears a fan-like noise and assumes the fan must be defective. Or sees condensation and assumes the door gasket must be replaced. Or notices poor cooling and immediately suspects the compressor.
Each assumption may sound reasonable.
But reasonable is not the same as confirmed.
A technician may need to evaluate temperature behavior, airflow, fans, controls, sensors, door conditions, ventilation, and refrigeration performance depending on the model and symptoms.
The sequence matters because it helps transform a vague complaint into something testable.
“The best diagnostic clue is often not the loudest symptom. It is the relationship between several small changes.”
Stage Four: The Question Changed From “What Can I Adjust?” to “What Needs to Be Tested?”
By now, changing the temperature setting again would have added little useful information.
The cooler had already demonstrated a repeated pattern.
This was the point where observation had done its job.
Safe homeowner checks can help identify obvious external conditions. Settings can be verified. The door can be checked for normal closing. Accessible ventilation areas can be inspected for obvious obstruction according to the manufacturer’s instructions. Error information, if present, can be recorded.
But there is a boundary.
Internal electrical testing, control diagnosis, refrigerant-system work, and sealed-system service should not become DIY experiments.
A wine cooler may look relatively simple from the outside, but its refrigeration system requires the same respect as other refrigeration appliances. Do not puncture tubing or attempt to add refrigerant as a troubleshooting shortcut.
And if the appliance produces smoke, unexpected sparking, a persistent electrical burning smell, visibly damaged wiring, or water reaches electrical components, normal use should stop.
Knowing when to stop troubleshooting is part of good troubleshooting.
At this stage, the original question—“Why does this bottle feel warmer?”—had evolved into something much more useful.
Which part of the cooling process was no longer performing as intended?
That question required diagnosis.
Stage Five: From a Small Temperature Change to a Clear Diagnosis
Professional wine cooler repair or beverage cooler repair should not begin by choosing the most expensive or most obvious component.
It should begin by confirming the complaint.
The technician can consider the model, configuration, actual temperature behavior, controls, fan operation, airflow, door condition, condensation pattern, and refrigeration performance as appropriate to the appliance.
Empire Appliances Repair can diagnose wine and beverage cooler problems involving poor cooling, unstable temperatures, fan problems, condensation or moisture, unusual noises, controls, displays, and related refrigeration conditions.
The purpose of that process is simple: move from what the owner notices to what testing can confirm.
Only then does the repair-or-replacement question become meaningful.
The confirmed fault matters. So does the overall condition of the cooler, previous repair history, parts availability, and the scope of the required work.
Installation can matter too.
A built-in wine cooler may occupy a carefully planned opening between cabinets. A replacement may need to work with existing dimensions, ventilation requirements, electrical connections, door clearance, and the visual design of the surrounding kitchen.
That does not automatically make repair the better choice.
It simply means the decision deserves more thought than comparing the age of the appliance with the price of a new one.
Diagnosis gives that decision context.
“A good repair decision begins when the question changes from ‘What should I replace?’ to ‘What actually failed?’”
And that brings the story back to where it began.
One bottle felt slightly warmer.
At first, it seemed too small to matter.
Then another bottle felt the same. Moisture appeared. The familiar operating sound changed. What had seemed like several unrelated details gradually became one coherent pattern.
That is often how appliance problems reveal themselves—not through one dramatic moment, but through small departures from normal behavior.
The lesson is not to become suspicious of every sound or every drop of condensation.
It is simply to know your appliance well enough to recognize when its normal rhythm changes.
Observe the first clue.
Notice when it becomes a pattern.
Make the safe basic checks.
And when observation is no longer enough, let diagnosis answer the question.
What started with a bottle that felt slightly too warm had become something much clearer: a wine cooler telling its story, one small clue at a time.