August 22, 2026
A dryer that stops heating, takes two or three cycles to dry clothes, makes unusual noises, or refuses to start creates an immediate question: Is this something you can safely check yourself, or does the dryer need professional repair?
The answer depends on the symptom and where the suspected problem is located. Some dryer issues originate with simple external conditions such as a clogged lint filter, restricted exhaust airflow, an incorrect setting, or a load that is too large. Others may involve a heating element, thermal fuse, thermostat, motor, internal wiring, or electronic controls.
This dryer repair guide compares two approaches: Option A — homeowner troubleshooting and Option B — professional dryer diagnosis and repair. Neither approach is automatically right for every situation. The goal is to understand what each can reasonably accomplish and where safety should determine your next step.
Overview: Start With the Symptom, Not the Replacement Part
Before comparing your options, identify exactly what the dryer is doing. A dryer that tumbles but produces no heat presents a different diagnostic path from one that heats normally but takes much longer than expected to dry clothes.
Common dryer problems include:
- Dryer not heating
- Dryer not starting
- Clothes taking too long to dry
- Dryer overheating
- Drum not turning
- Dryer stopping during a cycle
- Unusual squeaking, grinding, thumping, or rattling
- Weak airflow
- Burning or unusual odors
The same symptom can have multiple causes. For example, poor drying performance may be associated with restricted airflow, an overloaded drum, a heating problem, a moisture-sensing issue, or another fault. Likewise, a dryer that will not heat does not automatically have a failed heating element.
| Symptom | Homeowner-Level Check | Possible Technician-Level Areas |
|---|---|---|
| Dryer takes too long to dry | Lint filter, load size, accessible exhaust airflow | Heating system, thermostat, moisture sensor, internal airflow |
| Dryer runs but does not heat | Settings, basic power-related checks, airflow | Heating element, thermal fuse, thermostat, wiring or controls |
| Drum does not turn | Check for obvious obstruction without disassembly | Belt, motor, rollers, drive components |
| Dryer makes unusual noise | Check load and visible loose objects | Rollers, belt, motor or other mechanical components |
| Dryer overheats | Stop use and check accessible airflow restrictions | Ventilation, thermostat, heating controls, internal components |
The key is knowing where basic troubleshooting ends and actual repair diagnosis begins.
Option A: Safe DIY Dryer Troubleshooting
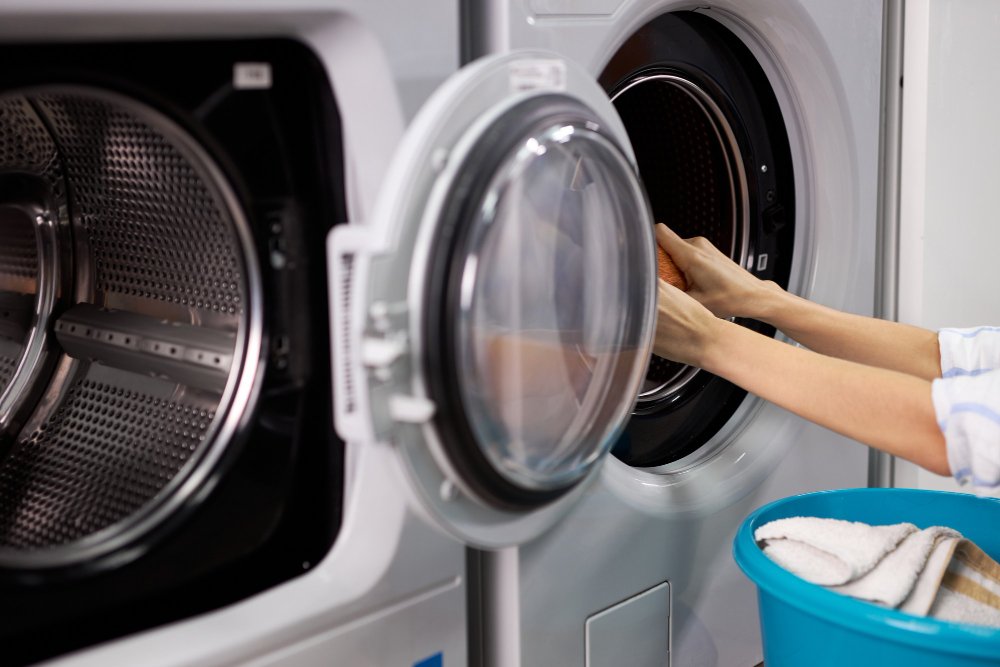
Homeowner troubleshooting makes the most sense when you are checking conditions that are visible or accessible without opening electrical panels or dismantling the dryer.
Start with the lint filter. A heavily restricted filter can interfere with airflow, which is essential for normal drying performance. Clean it according to the manufacturer’s instructions and inspect it for buildup or damage.
Next, consider the exhaust path. If accessible, look for obvious crushing, kinking, or restriction in the connection behind the dryer. Poor exhaust airflow can contribute to longer drying times and excessive heat accumulation.
Also consider the load itself. A very large or tightly packed load may not tumble efficiently, which can extend drying time even when the appliance is functioning normally.
Finally, verify the selected cycle and settings. Some low-temperature, air-dry, or energy-saving settings behave very differently from high-heat cycles.
Pros of DIY Troubleshooting
- Simple: Basic checks require little or no disassembly.
- Useful: Airflow, loading, and setting problems can sometimes be identified quickly.
- Low risk when limited to appropriate checks: You can inspect accessible areas without interfering with internal electrical components.
- Helpful for diagnosis: Your observations can provide useful information if professional service is eventually needed.
Cons of DIY Troubleshooting
- External checks cannot confirm many internal component failures.
- Different faults may create almost identical symptoms.
- Replacing parts without testing can result in unnecessary expense.
- Improper disassembly may introduce electrical, mechanical, or fire hazards.
WINNER — Basic Maintenance & External Checks: DIY troubleshooting is the more appropriate starting point when the issue may involve settings, loading, an accessible lint filter, or an obvious external airflow restriction.
However, there is an important exception. If you notice a burning smell, smoke, sparking, severe overheating, damaged wiring, or other signs of an electrical or fire hazard, stop using the dryer. Do not continue testing it through additional drying cycles.
Option B: Professional Dryer Diagnosis and Repair
Professional diagnosis becomes more appropriate when the basic checks do not resolve the problem or the symptom suggests an internal electrical, heating, or mechanical failure.
Consider a dryer that turns on and tumbles normally but consistently produces no heat. A failed heating element is one possible explanation in an electric dryer, but it is not the only one. Depending on the dryer design, a technician may need to evaluate thermal protection devices, thermostats, wiring, controls, power conditions, or other components.
A similar principle applies to mechanical noises. Squeaking, grinding, or thumping may be associated with rollers, a belt, motor components, or another moving part. The sound alone does not confirm which component requires repair.
Professional diagnosis is also particularly important when overheating or recurring airflow problems are involved. Dryers generate substantial heat, and proper ventilation is an important part of safe operation.
Pros of Professional Dryer Repair
- Component testing: Suspected parts can be tested instead of replaced based on assumptions.
- Deeper diagnosis: Internal electrical, heating, mechanical, and control-system faults can be investigated.
- Safer for complex failures: Homeowners do not need to dismantle systems they are not trained to service.
- Better repair decisions: A confirmed diagnosis provides more useful information for deciding whether repair makes sense.
Cons of Professional Dryer Repair
- Professional diagnosis involves a service cost.
- Parts and labor requirements vary significantly depending on the actual failure and dryer model.
- Some older or heavily worn dryers may have multiple issues that should be considered before authorizing a major repair.
WINNER — Internal Fault Diagnosis: Professional service is the appropriate choice when testing internal electrical, heating, motor, control, or complex mechanical components is necessary.
| Factor | DIY Troubleshooting | Professional Dryer Repair |
|---|---|---|
| Checking settings | Excellent fit | Usually unnecessary as a first step |
| Cleaning accessible lint filter | Excellent fit | Usually unnecessary as a first step |
| Checking obvious external vent restriction | Appropriate when safely accessible | Useful when the restriction is not obvious or keeps returning |
| Diagnosing heating components | Limited | Appropriate |
| Testing thermal fuse or thermostats | Not a basic homeowner check | Appropriate |
| Motor diagnosis | Not recommended as basic troubleshooting | Appropriate |
| Internal wiring diagnosis | Not recommended | Appropriate |
| Burning smell or severe overheating | Stop using the dryer | Professional inspection recommended |
Side-by-Side Comparison: Which Approach Fits the Problem?
The decision becomes clearer when you separate maintenance and observation from component diagnosis and repair.
If your dryer takes longer than usual to dry clothes, checking the lint filter, load size, settings, and accessible exhaust path is reasonable. If those checks reveal nothing and poor performance continues, further diagnosis may be needed.
If the dryer runs but does not heat, you can confirm the selected settings and observe whether airflow seems abnormal. Beyond those checks, determining why heat is missing may require component testing.
If the drum does not turn, avoid forcing it or repeatedly restarting the dryer. A technician may need to evaluate the belt, rollers, motor, or related drive components.
If there is smoke, sparking, a persistent burning smell, severe overheating, or signs of damaged electrical components, the comparison becomes much simpler: continued DIY testing is not appropriate.
| Situation | Best Starting Approach | Why |
|---|---|---|
| Lint filter needs cleaning | DIY Check | Routine accessible maintenance |
| Incorrect cycle selected | DIY Check | Can be verified without disassembly |
| Clothes dry slowly despite basic checks | Further Diagnosis | Airflow, heating, or sensing issues may require testing |
| Dryer tumbles but repeatedly produces no heat | Professional Diagnosis | Multiple internal faults can create this symptom |
| Grinding or persistent mechanical noise | Professional Diagnosis | Internal moving components may require inspection |
| Smoke, sparking, or burning odor | Stop Use / Professional Inspection | Potential electrical or fire hazard |
Start Simple, Then Diagnose
There does not need to be a competition between DIY troubleshooting and professional dryer repair. They serve different purposes.
WINNER — First Step: Safe homeowner troubleshooting. Start by checking the settings, lint filter, load, and accessible exhaust conditions. These checks can identify straightforward problems without unnecessary disassembly.
WINNER — Complex or Persistent Problems: Professional diagnosis. If the dryer still does not heat, takes unusually long to dry, stops during operation, will not turn the drum, or produces persistent mechanical noises after basic checks, internal testing may be necessary.
WINNER — Safety Concerns: Stop using the dryer and arrange appropriate professional inspection when there is smoke, sparking, severe overheating, electrical damage, or a persistent burning smell.
Before scheduling service, note your dryer’s model number if it is safely accessible and describe exactly what happens during a cycle. Mention whether the drum turns, whether heat is produced, how long drying takes, whether airflow seems different, and whether you hear unusual sounds.
If basic troubleshooting does not identify the problem, Empire Appliances Repair can provide professional dryer diagnosis and repair. Testing the appliance before replacing parts helps distinguish a simple airflow or maintenance issue from a heating, electrical, motor, control, or mechanical failure.
The most useful approach is straightforward: handle the simple checks yourself, but let diagnosis—not guesswork—guide complex repairs.