


August 5, 2026
Replacing an appliance looks simple when you see only the beginning and the end: an old refrigerator, dishwasher, washer, dryer, range, or other appliance leaves the house, and a new one takes its place. The important work happens in between.
Will the new appliance actually fit through the doorway? Are the electrical, water, drain, gas, and ventilation requirements compatible? Does the installation location provide the clearances specified by the manufacturer? Can the old connections be reused, or should they be replaced?
These questions matter because appliance installation and replacement is not simply about making a new machine fit into an old opening. The appliance must be compatible with the space, utilities, surrounding cabinetry, and installation requirements—and it should be tested before the job is considered complete.
This guide follows the process in order, from planning the replacement to verifying normal operation.
TIP: Do not begin with the appliance’s advertised width alone. Installation dimensions, required clearances, connection locations, door swing, ventilation, and the delivery path can all affect whether a model works in your space.
Step 1: Measure the Space and Plan the Replacement
Before ordering anything, document the existing installation. Measure the opening carefully and note what surrounds it. A refrigerator beside a wall, a dishwasher between cabinets, and a laundry appliance inside a closet can each have different clearance concerns.
Start with three dimensions:
- Width: Measure the available opening at more than one point when appropriate.
- Height: Check from the finished floor to the lowest obstruction above.
- Depth: Measure the usable space and consider connections behind the appliance.
Then measure the route into the home. A perfectly sized refrigerator is not useful if it cannot pass through a doorway, hallway, stairway, or other part of the delivery path.
| What to Measure | Why It Matters | Commonly Overlooked Detail |
|---|---|---|
| Installation opening | Determines basic appliance fit | Opening may not be perfectly square |
| Available depth | Affects projection and connection space | Water, drain, electrical, or gas connections behind unit |
| Door clearance | Doors and drawers need room to open | Nearby walls, islands, handles, or cabinets |
| Delivery path | Appliance must reach installation location | Narrow doors, turns, stairs, railings |
| Manufacturer clearances | May be required for ventilation and operation | Clearance needs can differ by model |
PRE-INSTALLATION CHECKLIST:
- ✓ Measure the installation width, height, and depth.
- ✓ Measure doorways and the delivery path.
- ✓ Check appliance door and drawer clearance.
- ✓ Identify nearby walls, counters, cabinets, and trim.
- ✓ Review manufacturer-required clearances.
- ✓ Confirm where utility connections are located.
- ✓ Compare the new model’s installation specifications with the actual space.
⚠ WARNING: Never assume that two appliances with the same general size category have identical installation requirements. Verify the specifications for the exact model being installed.
TIP: Take photos of the existing connections before the old appliance is moved. They can help document the original configuration and identify questions that need to be resolved before installation.
Step 2: Verify Utilities, Connections, and Compatibility
Once the appliance fits physically, ask the next question: Can the location support it correctly?
Different appliances depend on different combinations of electricity, water, drainage, gas, and ventilation. Even two appliances designed for the same job may not have identical connection requirements.
Review the manufacturer’s installation instructions for the exact model and compare them with the existing setup.
| Appliance | Connections to Verify | Installation Detail to Review |
|---|---|---|
| Refrigerator | Electrical; water supply when applicable | Clearance, leveling, door swing, water connection |
| Washer | Electrical, hot/cold water, drainage | Hoses, drain position, leveling |
| Dryer | Electrical or gas; exhaust where applicable | Vent path, connection type, clearances |
| Dishwasher | Electrical, water supply, drainage | Cabinet opening, drain routing, leveling |
| Range | Electrical and/or gas depending on model | Anti-tip requirements, clearances, connection type |
| Cooktop | Electrical and/or gas depending on model | Cutout dimensions and manufacturer clearances |
| Microwave | Electrical; ventilation on applicable installations | Mounting, clearances, vent configuration |
| Wine / Beverage Cooler | Electrical | Built-in versus freestanding ventilation requirements |
Pay particular attention when replacing an older appliance. Existing connections may have been suitable for the previous model without automatically meeting the requirements of the replacement.
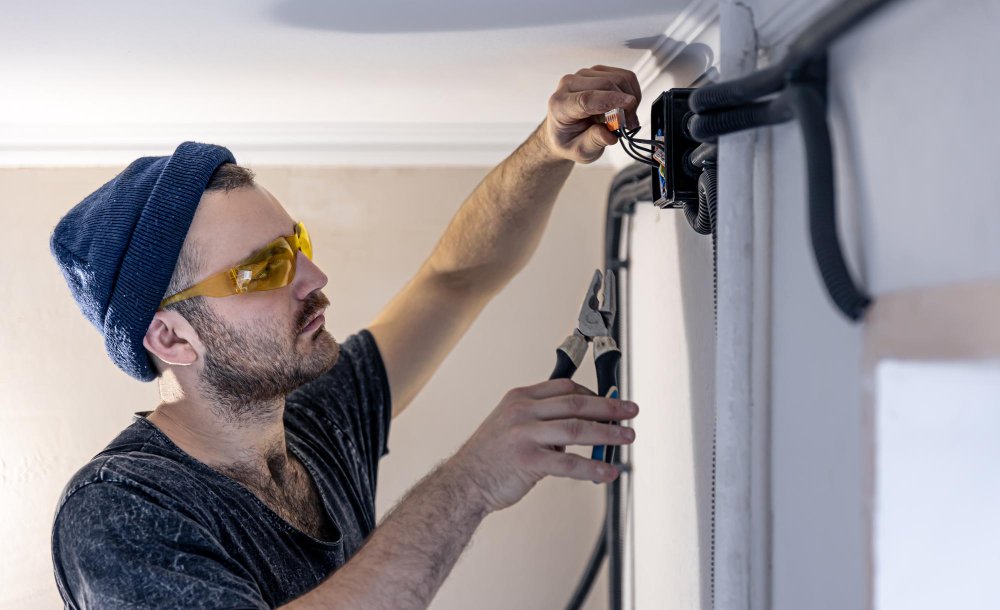
Do not improvise gas, high-voltage electrical, or other connections that require qualified installation. Do not modify plugs, bypass grounding or safety devices, or use an adapter simply to make an incompatible connection appear to work.
⚠ SAFETY WARNING: Gas connections, dedicated electrical circuits, hardwired connections, outlet modifications, and other work governed by applicable codes should be handled by appropriately qualified professionals. If you smell gas during or after an installation, do not continue testing the appliance; follow appropriate gas-safety procedures.
For dryers and other vented appliances, ventilation deserves the same attention. A new appliance connected to a restricted, damaged, or incorrectly configured exhaust path can perform poorly even though the appliance itself is new.
UTILITY CHECKLIST:
- ✓ Confirm the required electrical supply.
- ✓ Check water connections where applicable.
- ✓ Verify the drain configuration.
- ✓ Confirm gas compatibility when applicable.
- ✓ Inspect required ventilation or exhaust routing.
- ✓ Review manufacturer requirements for connection materials.
- ✓ Resolve damaged or incompatible connections before installation.
TIP: “The old appliance worked here” is useful history, but it is not an installation specification. Always compare the location with the requirements of the new appliance.
Step 3: Install, Level, Secure, and Test the Appliance
Once fit and compatibility have been confirmed, installation can move forward according to the manufacturer’s instructions. The exact sequence depends on the appliance, but careful positioning and testing are essential.
A typical process includes:
- Remove the old appliance safely. Disconnect required utilities using procedures appropriate for the appliance and installation.
- Inspect the installation area. Look for accessible signs of water damage, deteriorated connections, damaged flooring, restricted vents, or other conditions that should be corrected before the replacement goes in.
- Prepare the new appliance. Remove shipping materials and transport restraints according to the manufacturer’s instructions.
- Make approved connections. Follow model-specific instructions for water, drain, electrical, gas, and ventilation connections.
- Position and level the appliance. Proper leveling can influence drainage, vibration, door operation, and general performance depending on appliance type.
- Secure the appliance where required. Dishwashers, ranges, microwaves, and other appliances may have model-specific mounting or anti-tip requirements.
- Run an initial functional test. Confirm that the appliance starts, responds to controls, and performs basic functions without obvious leaks, abnormal noises, error conditions, or connection problems.
| After Installation | What to Verify |
|---|---|
| Position | Appliance is stable and positioned according to installation requirements |
| Doors / drawers | Open and close normally without obstruction |
| Water connections | No visible leakage during initial operation |
| Drainage | Water exits normally on applicable appliances |
| Ventilation | Required vent or exhaust configuration is connected correctly |
| Controls | Basic functions respond normally |
| Operation | No immediate abnormal noise, vibration, odor, or error condition |
POST-INSTALLATION CHECKLIST:
- ✓ Check for water leaks.
- ✓ Confirm normal door and drawer movement.
- ✓ Verify that the appliance is stable and properly positioned.
- ✓ Confirm basic control operation.
- ✓ Listen for unexpected noises.
- ✓ Check for error messages.
- ✓ Verify drainage or ventilation where applicable.
- ✓ Keep the installation manual and model information accessible.
⚠ DO NOT IGNORE: Stop testing if you notice a gas odor, smoke, unexpected sparking, a persistent burning electrical smell, significant water leakage near electrical components, or another immediate safety concern.
TIP: Do not judge every appliance after only a few seconds of operation. Some refrigerators need time to reach normal temperature, some washers perform sensing before adding water, and other appliances may have normal startup behaviors described in the owner’s manual. Verify operation according to the manufacturer’s instructions rather than relying on assumptions from an older model.
Final Thoughts
A successful appliance replacement begins before the old machine is removed. Measurements determine whether the appliance fits. Utility requirements determine whether it is compatible. Correct installation determines whether it has the conditions needed to operate as designed.
The safest sequence is simple:
- Measure before buying.
- Verify every required connection.
- Install according to the manufacturer’s requirements.
- Test before considering the project complete.
This approach is especially important when moving between appliance types, changing fuel or connection requirements, installing built-in equipment, or replacing an older model whose existing installation may no longer be appropriate for the new appliance.
FINAL TIP: If you discover an incompatible connection, damaged utility line, uncertain electrical configuration, ventilation problem, or installation requirement outside safe homeowner work, resolve that issue before operating the appliance. Installation is not finished simply because the appliance fits into the opening.
Good appliance installation and replacement is less about moving a box into position and more about creating the correct operating environment for the appliance. Fit, clearance, power, water, drainage, gas, ventilation, leveling, and final testing all have a role.
If you need help replacing or installing an appliance, Empire Appliances Repair can assist with appropriate appliance installation and replacement work and help identify installation conditions that should be addressed before the new unit is placed into service.
Measure carefully. Verify compatibility. Connect safely. Test thoroughly. Those four habits can prevent many installation problems before the first normal cycle ever begins.